

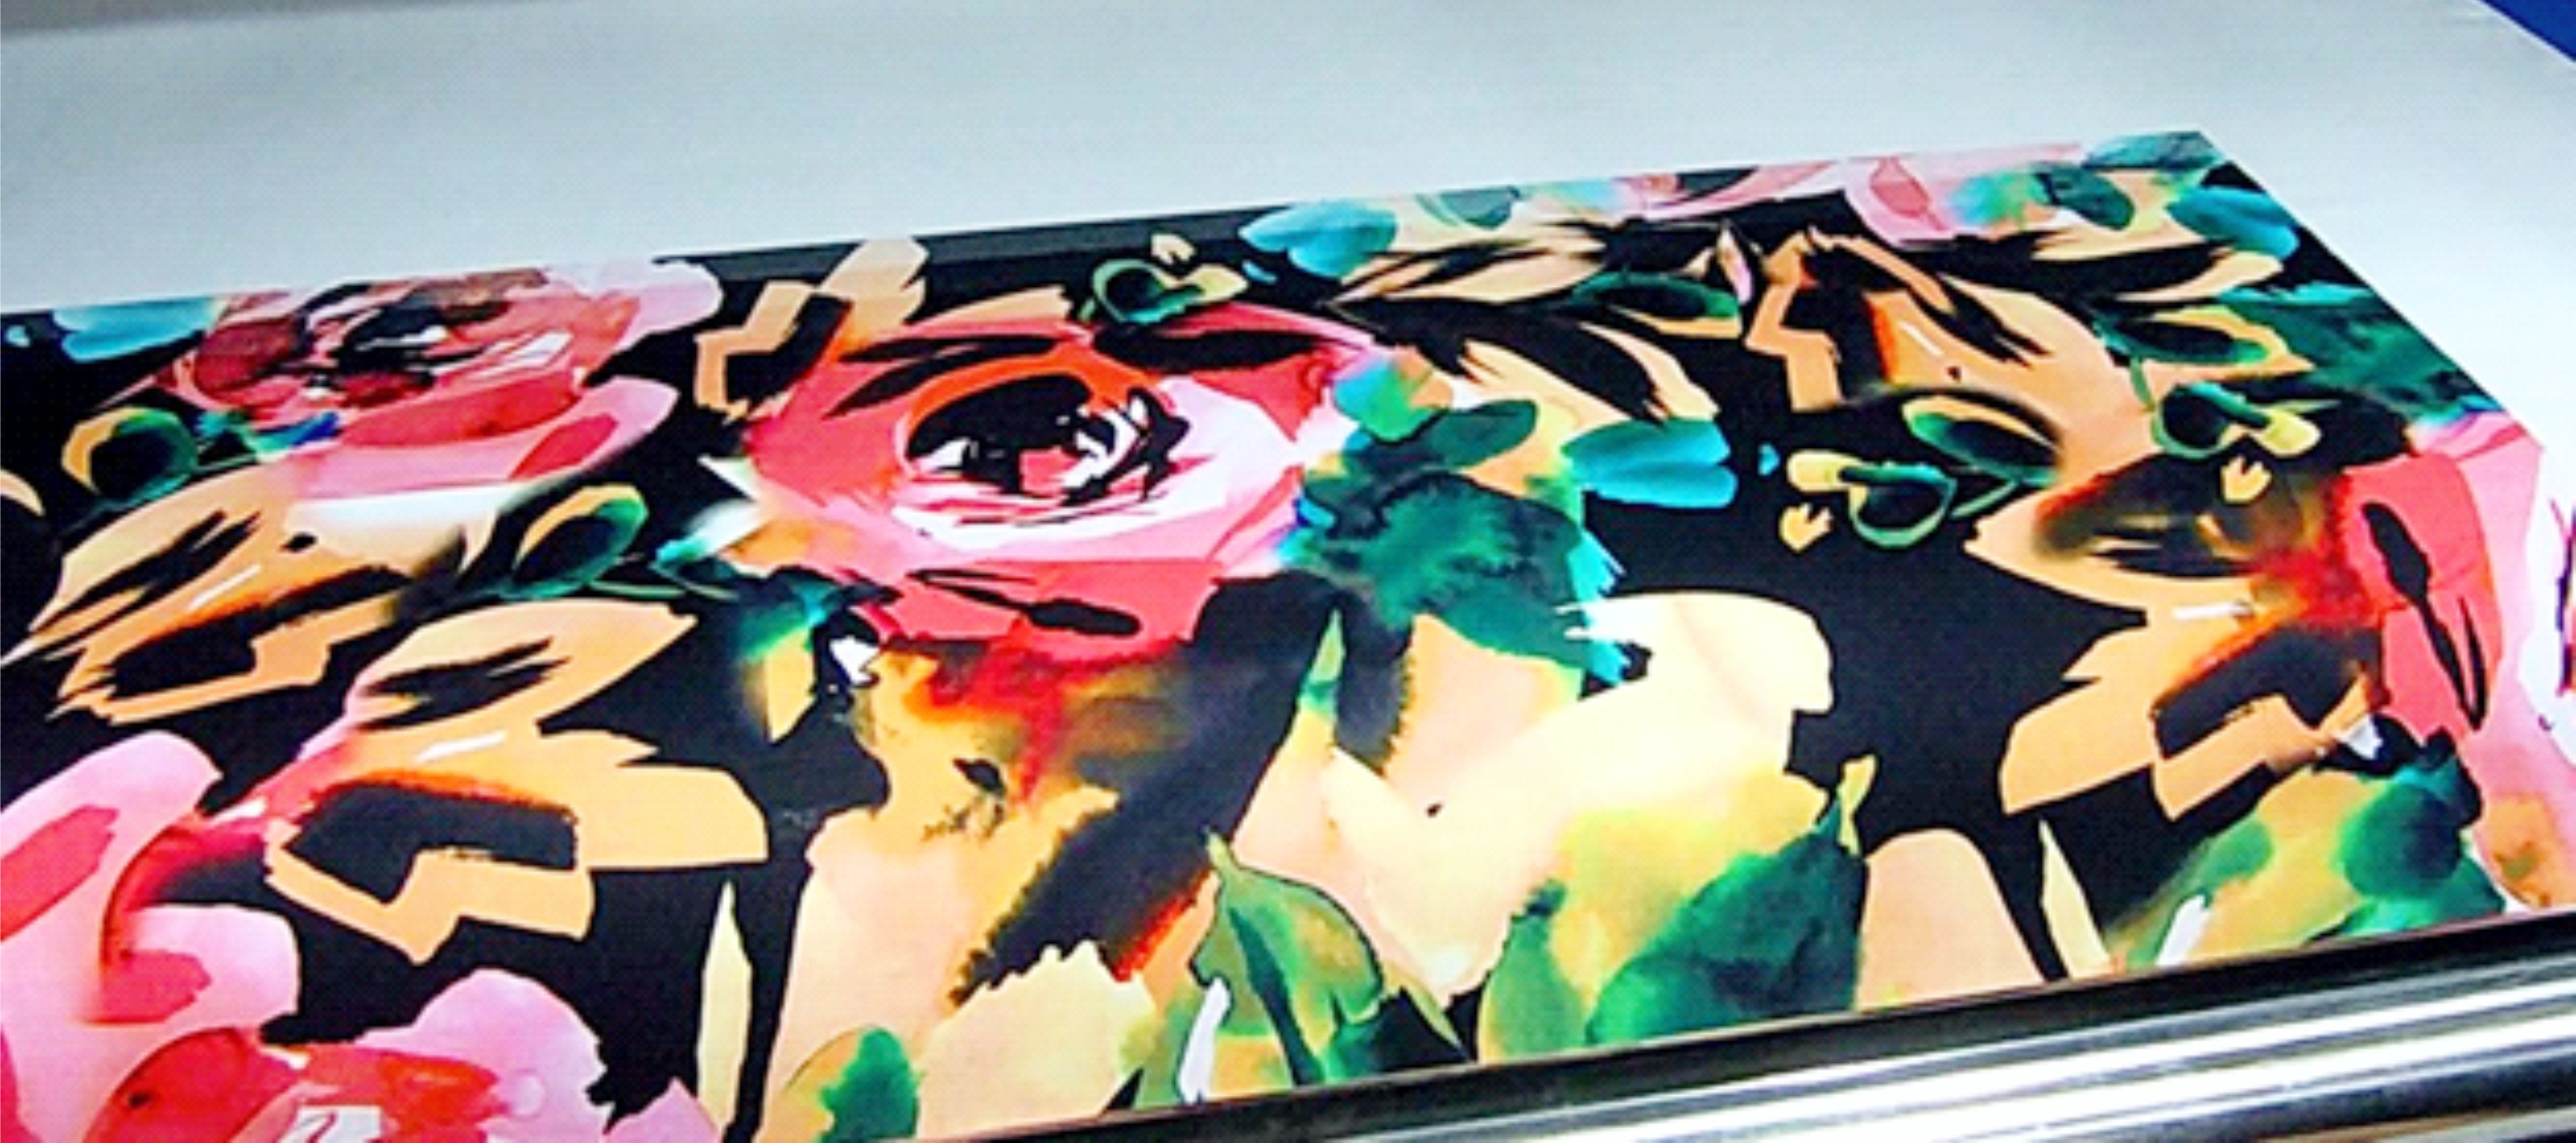
Textile signage is as old as the Model T. With the advantages of today’s digital technology, it is faster and easier than ever to produce a textile sign. I will attempt to touch on each element of the process, explaining the various options and why they are used. My goal is to provide information to allow you to determine your needs and the solutions that will work for your shop. There is no perfect system or substrate; you will have to pick what is most affordable for your budget, skill level and the applications you need to produce. In closing, I will discuss why printing on textiles is the fastest growing segment of the printing industry.
Inks
Disperse dyes are the most widely used inks for graphic fabric printing. Low-energy disperse dyes are the most commonly used version and are typically referred to as dye sublimation inks. Using the digital process, these inks are applied to paper first and transferred to a polyester substrate using heat. When exposed to high temperatures, dye sublimation ink will turn into a gas (sublimate), which allows it to move from the transfer paper into the interior of the polyester fiber. Upon entering the fiber, the dye cools and becomes trapped as it returns to a solid state. Medium- and high-energy disperse dyes are also available. These are often applied directly to the fabric. In this case, heat is used to open the pores of the polyester fiber and drive the dye into the interior. This type of disperse dye can be more difficult to apply, but will likely provide a higher level of colorfastness to light. Higher energy inks often don’t cure completely, and it is recommended to wash a direct-dispersed textile to remove any uncured color.
This step is typically skipped in the graphics world and most customers adjust profiles to minimize the issue and accept that there will be some ink floating around the fabric.
Latex, solvent and UV inks attach using a binder. They all glue ink to the fabric. Latex is the best of the three as the color pops and will not change the feel of the fabric. The worst is solvent. All three can be scratched, and washing printed fabric is not recommended with any of these solutions. One benefit, however, is they will print on natural fabrics such as cotton. Reactive and acid inks are used in home furnishings and apparel in addition to flags produced on nylon for long-term use.
Fabrics
Polyester is king as far as fabric signage. Polyester comes in various weights, opacity, stretch and styles. It can be produced with stretch, blackout opacity, see-through, etc. Natural fabrics are not very common, but as pigments and fabric coating improve, I suspect this will change. The two types of construction most commonly used are woven and warp knits. Woven will provide a more opaque fabric, which is ideal for backlit display. The disadvantages with woven are that it can fray and needs to be sewn or sealed by heat. Woven also tends to not be very stretchy. Warp knits — more commonly used — tend to be manufactured with stretch in various degrees to meet the needs of the hardware structure. They are also easier to finish and display.
Equipment
When deciding on equipment, there are many things to consider. If you need a printer that can print on textiles and other substrates, such as vinyl, the answer is easy — go latex. UV would work on fabric, but you will get a harsh smell due to inks not curing, unless a heavy coating is applied. On fabric, UV inks get trapped around the fibers, and what the lights do not see, they cannot cure. Solvent will have very little pop and the worst feel. Direct printers can use either dye sub ink or dispersed dyes. Direct printers can be manufactured to have the heat press built in, which is a major benefit if you are limited on space or budget. It allows you to purchase just one machine and material costs are cheaper. They also tend to be much easier to use for beginners. To prepare fabric for direct printing, it is coated with an anti-migrant. It only raises the cost of the fabric by 1–2 cents per square foot, but eliminates the need for transfer or tissue paper. For low volume print requirements, it is easier to print one job and take it directly to finishing. The drawback is that the speed of the heat press is determined by print speed, which can vary. This could affect consistency. Many of these units use high air instead of a drum; they look and heat like a toaster oven. Some manufacturers have gone to drums or plates to heat the fabric, which is a better option. The high air heating is the most inconsistent way of fixation and could mist the ink, causing a bloom effect on the print.
The second way to print direct is to have a secondary heat press or fixation unit. While you would still save on the transfer paper, you would need tissue paper. This solves the issue of inconsistency due to heating or ink blooming and would allow one heat press to take care of multiple printers. If you are printing backlit or flags, direct will provide better, deeper penetration of the ink. On flags, it is desirable to have the image pass through the fabric to give a mirror image on its backslide. Direct can achieve almost 100% pass while transfer only achieves about 70%. Direct printing would also produce a richer look for a backlit since it will penetrate the fabric deeper. Transfer will provide better resolution and color accuracy, but with the improvements of fabric coating, this difference is minor today. Transfer is easier if you are printing on many types of fabrics. It will save waste and makes it easier to change between fabric styles. It is also faster for printing multiples of the same original or large runs. If a mistake occurs, it is cheaper to waste paper than fabric. It is important to note that there are a number of 5-meter printers coming onto the market. Currently, transfer paper is only available for 3.2 meters, so direct would the only way to go.
Finishing
This is the scariest part of textile printing. Sewing is the most common way to finish fabric. A basic sewing machine would work fine, and there are plenty of industrial sewing machines on the market. The first stop in the process is cutting the fabric. The cheapest and easiest way to cut fabric is to use a scissor or knife, which leaves a rough edge. If it is a woven fabric, it will fray. Another method, a hot knife, will cut and seal the fabric, providing a finished product for table throws and hanging banners. If larger production is required, an automated table cutter would be an option. Most automated table cutters use blades to cut the fabric, but laser cutters are also now available. The advantage of a laser cutter is its ability to seal the edge of the fabric as it cuts. The most popular method of displaying fabric — especially for in-store displays or backlit — is to sew a silicone or PVC strip onto the edge of the fabric. This will then insert into a groove of the frame, also known as silicone edge graphic (SEG) displays. For low volume, a sewing machine would work well. Lining up the silicone strip while maintaining the silicone is a challenge. Bunching of the fabric is a common issue if not done properly. There is also a self-adhesive strip that can be placed onto the fabric to replace sewing, which works great for smaller frames. The strip is slower to apply and more expensive. If your budget allows, and you anticipate higher-volume SEG jobs, an automated sewing system would be ideal. They have a conveyor belt for the fabric and will automatically feed the SEG strip. It’s very easy to use, even by a new operator. As for finishing pole pockets, table throws, banner stands or adding grommets for hanging banners, sewing is the most common. There are also tapes used for both hem and table throw that


 Visit Today : 81
 This Month : 1321
 Total Visit : 34175